

Once your organization has purchased and deployed Laserfiche, it is time to decide what to do with all the legacy files. Paper files will need to be scanned, but what about all those documents residing on your network drives? Here is how the City of Laserland migrated its network files in a batch to a repository with Laserfiche Quick Fields.
The challenge and solution
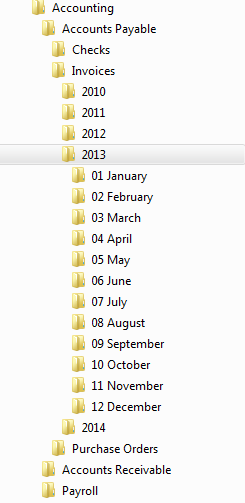
Laserland’s legacy network filing system worked as follows:
- Every department had its own folder on the network drive.
- Within this folder, various subfolders contained different types of documents.
Here is an example of the Accounting folder:
The challenge: Migrate all documents into the Laserfiche repository, attach the correct template and populate the fields.
The solution: Laserfiche Quick Fields retrieves the files from the network drive, identifies them, adds metadata and stores them in the appropriate folders in a Laserfiche repository.
Laserfiche repository
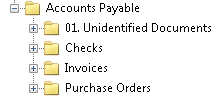
Before designing the Laserfiche Quick Fields session, the city established the Accounts Payable Laserfiche repository folder structure and configured Laserfiche Quick Fields to create the subfolders automatically. In addition to folders for the checks, invoices and purchase orders, the city added an extra folder to store the documents that Laserfiche Quick Fields couldn’t identify.
Here is the primary Accounts Payable folder structure used by Laserland.
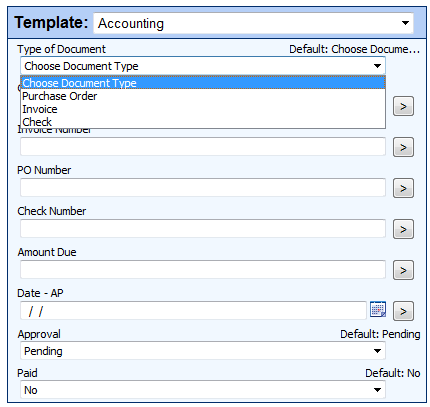
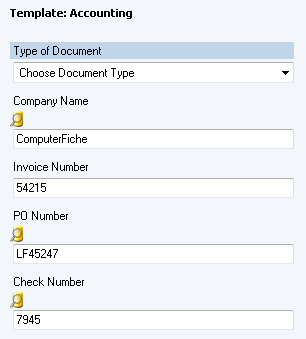
The next step is setting up document templates. Instead of creating a different template for every accounts payable document type, the city chose to have one template with a Document Type list field where employees can select if the document is an invoice, a purchase order or a check. Here is what Laserland’s Accounting template looks like:
Laserfiche Quick Fields
Since there are three types of accounts payable documents—invoices, purchase orders and checks—the Quick Fields session can have three different classes, each one corresponding to a different document type.
Invoices
Even though invoices come from different vendors, every invoice will have the word “Invoice” printed somewhere near the top of the first page. In order to distinguish invoices from other documents, the Laserfiche Quick Fields session uses an OmniPage Zone OCR process to find and read “Invoice” at the top of the page.
The condition set up for the OmniPage Zone OCR says that if the zone named INVOICE contains the text “invoice,” Laserfiche Quick Fields should classify the document as an invoice.

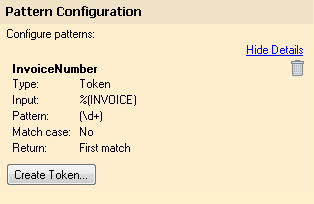
The Pattern Matching process is then used to look inside that same zone and extract the invoice number from the document.
That invoice number is used to populate the Invoice Number field. A Real-Time Lookup process is configured to search for the Invoice Number in the Accounting Database and populate the rest of the fields. Here is how this process is configured:


The template will look like this, after it is populated with the data from the database:
Purchase Orders
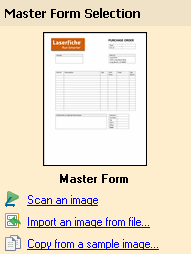
Every Laserland purchase order follows a standard format. To identify if a document is a purchase order, Laserfiche Quick Fields uses a Form Identification process to match images that are scanned with a master purchase order form.
If the scanned image matches this master purchase order form, Laserfiche Quick Fields classifies it as a purchase order.
Since the purchase order number is always in the same place on the form, another OmniPage Zone OCR process is used to extract it. This purchase order number is used to populate the PO Number field.

The Real-Time Lookup process then looks up the PO information in the Accounting Database based on the PO Number and populates the rest of the fields.
Checks
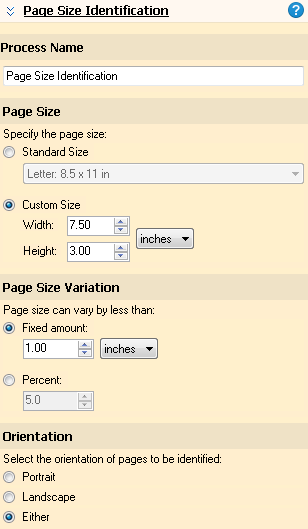
Each incoming check is around the same standard size: 7.5 inches by 3 inches. Laserfiche Quick Fields uses the Page Size Identification process to identify scanned images of this size as checks.
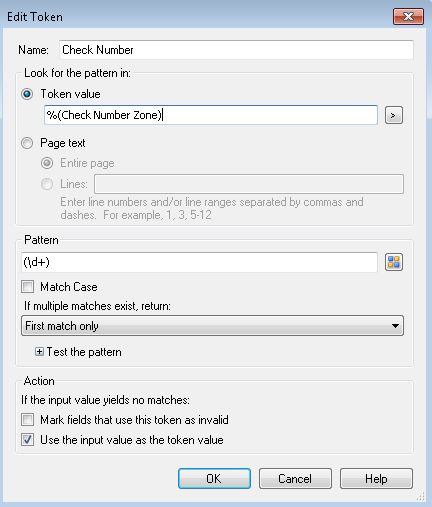
As part of the Page Processing stage, OmniPage Zone OCR reads a certain area of the check, and Pattern Matching looks for the check number inside that area. This pattern matching token is used to populate the Check Number field.
A Real-Time Lookup process searches the Accounting Database by check number to populate the rest of the template fields.
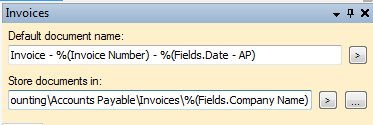
A combination of words and tokens are used to rename the documents and to specify the folder path. For example, invoices follow this naming convention: Invoice – Invoice Number – Invoice Date. The invoices will all be saved inside the AccountingAccounts PayableInvoicesCompany Name folder. The company name folder will be created if one does not already exist.
If any of the documents do not match the conditions for an invoice, purchase order or check, they will be stored in the Unidentified Documents folder for further review.
Here is what the whole Quick Fields session looks like:
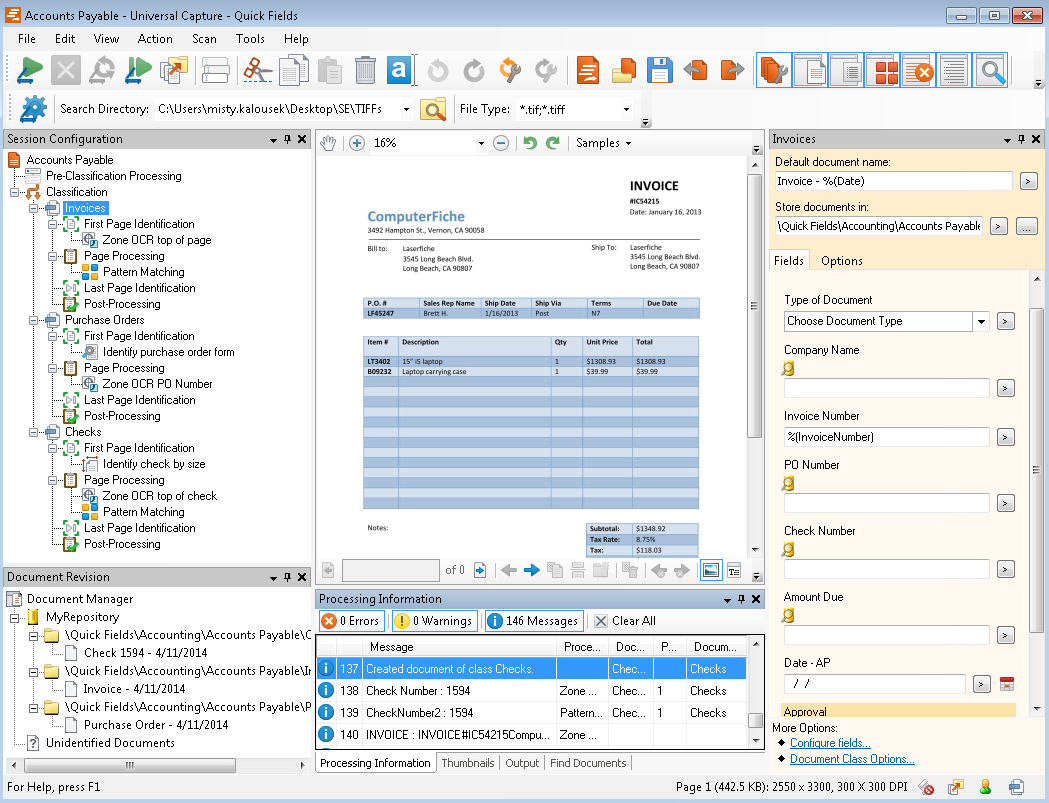
Click image to view larger in new window.
Benefits of Laserfiche Quick Fields
Importing legacy files into the repository with Laserfiche Quick Fields has the following benefits:
- Documents are classified as purchase orders, invoices or checks and filed in the appropriate folder automatically.
- Metadata is always accurate since it is sourced directly from the Accounting Database.
- Documents that couldn’t be identified correctly are sent to a separate folder where an employee can sort through them and identify them manually.
Some of the products and services listed on the Laserfiche Solution Exchange were not developed by Laserfiche. The recommendations and opinions expressed on the Laserfiche Solution Exchange are those of the person or persons posting the recommendations only, and they do not necessarily represent Laserfiche’s opinion or recommendation of the product or service being reviewed. Laserfiche disclaims all liability resulting from your purchase or use of any non-Laserfiche software product or service listed on the site.
– See more at: http://www.laserfiche.com/SolutionExchange/Article/migrate-documents-to-laserfiche-in-a-batch#sthash.BDOcyqrU.dpuf